Sponsors

Around the web
Popular Recipes
Wednesday
Mar102010

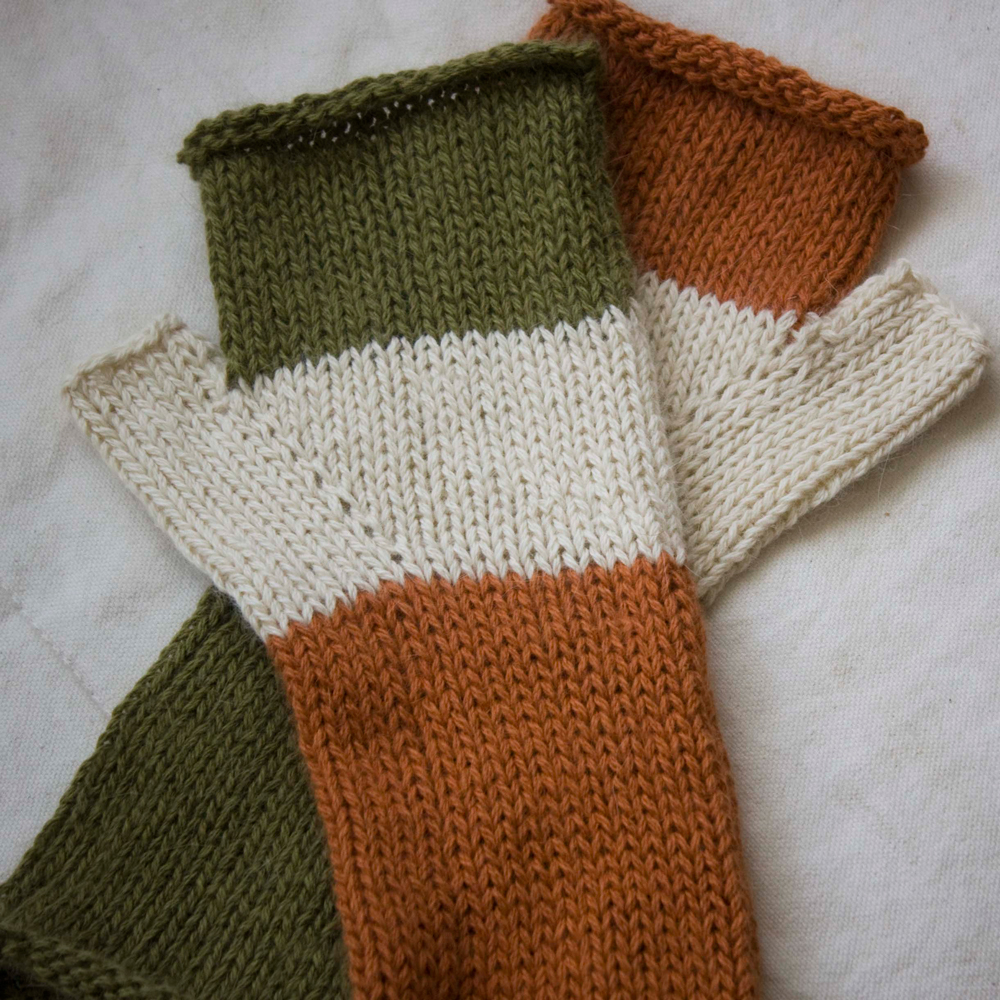
New Pattern: Scrumptious Mitts

scrumptious mitts

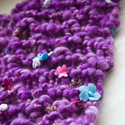
Ah, I love these fingerless mittens. My hands are always cold and with these mitts I can still type or dig in the garden or whatever else I get myself into, because there's always something. These mitts work up quickly on size 8 needles and I love fast knitting projects. The yarn I used is called Scrumptious and it's delightful blend of angora and silk. The angora makes them so soft and the silk gives them a gentle drape.

As for techniques there's two different increases to learn, one that slants left and one that slants right and they give the illusion that the thumb gusset is growing from the palm. Give them a try!

The pattern is available on Etsy from Heather Ink. Happy knitting!

Tuesday
Mar092010

DIY: Sassy & Simple Knitting Needle and Crochet Hook Cases

case_tutorial_10

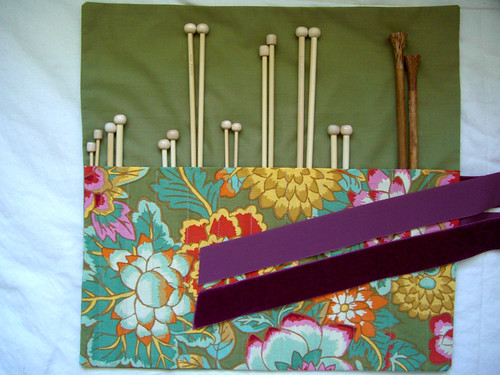
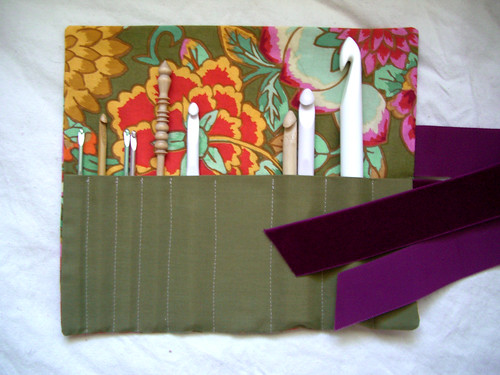
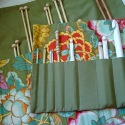
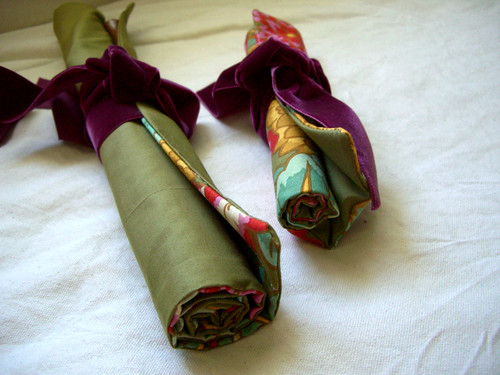
Are you knitting needles shoved in baskets in your closet? Are your crochet hooks hiding at the bottom of tote bags? Then follow this tutorial on how to make a set of these Coordinating Needle Cases. They're fast, easy and can be made from scraps of fabric. Give them as a gift with a pair of needles tucked inside or keep them all for yourself.
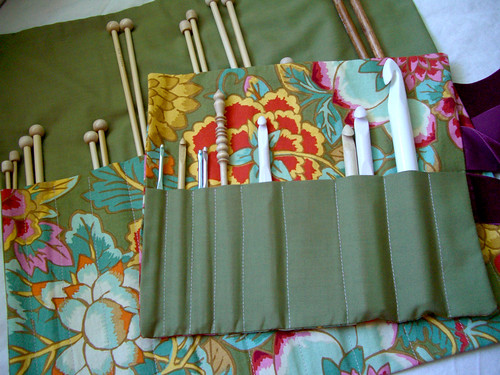
case_tutorial_9

Supplies
1/2 yard of cotton fabric in solid color (A)
1/2 yard of cotton fabric in coordinating print (B)
1.5 yards 1" velvet ribbon
1 spool thread
Scissors
Tape measure
Sewing gauge ruler
Pins
Needle
Iron and ironing board

You can choose to work on the cases individually or in tandem. Be sure all fabric is washed and ironed before you begin.

1. Cut - From Fabric A, cut two 16.5 x 15.75 inch pieces for exterior of knitting needle case and one 11 x 5.25 inch piece for crochet hook pocket. From Fabric B, cut one 16.5 x 9.25 inch piece for knitting needle pocket and two 11 x 9.5 inch pieces for exterior of crochet hook case. Cut ribbon into two 18" pieces for knitting needle case and two 9" pieces for crochet hook case.

2. Make Pockets - Fold and pin 1/2 along one long edge of pocket pieces. Iron flat.
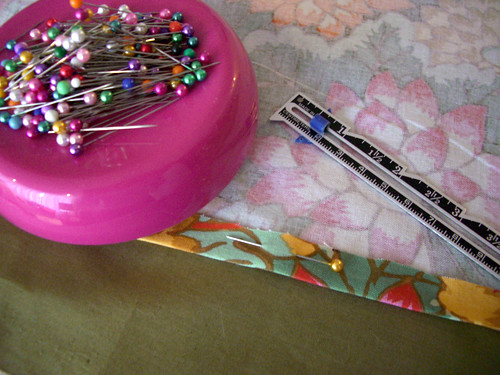
case_tutorial_2

Match the cut edges of the pocket to the matching edges of one of the exterior pieces with right sides facing you. Mark for pockets, with stitch gauge measure and pin 1.5" from left raw edge. For next pocket and following two pockets measure and pin 1" to the right from previous pin. Continue measuring and pinning increasing the measurement by 1/2" for larger pockets. If you have mostly small needles then make mostly 1" pockets, for a collection of larger needles create 1.5 to 2" pockets. Stitch at each pin from folded pocket edge to raw edge back-stitching at each end.
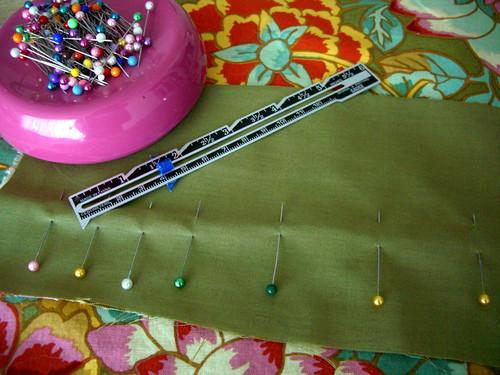
case_tutorial_3

4. Attach ribbon - Match ribbon edge to right edge of exterior piece with top edge of ribbon. The top edge of the ribbon can be visually centered on the needle case. Pin with wrong side showing. Pin the second piece of ribbon, right side showing, with bottom edge 1/8" from the top edge of the first piece of ribbon. Stitch 1/4" seam back-stitching at both ends.
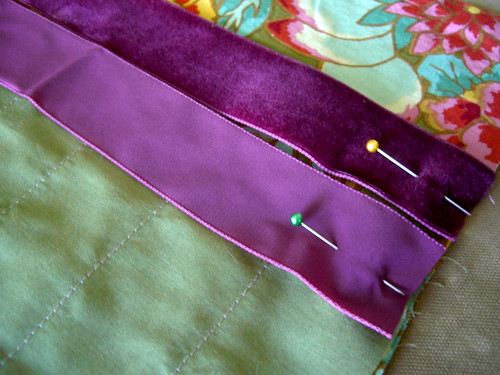
case_tutorial_4

5. Sew case together - Pin exterior pieces with right sides together making sure not to catch ribbon in pins or stitching. Stitch 1/2" seam around perimeter leaving a 2" opening on left side being sure to pivot at corners and back-stitching at each end.
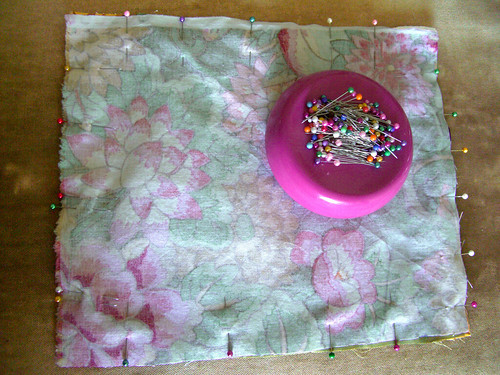
case_tutorial_5

6. Turn, sew and iron
- Trim corners. Turn work right side out. Stitch opening closed by hand with needle and thread. Press seams and edges flat.
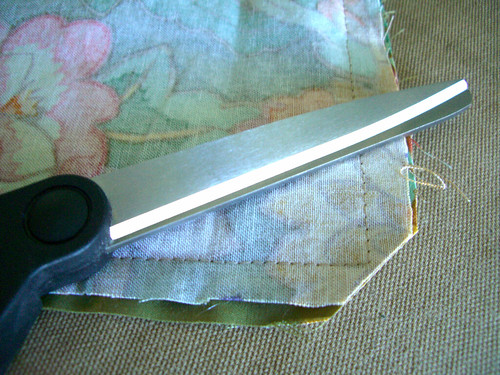
case_tutorial_6

7. Fill and enjoy!

case_tutorial_8

case_tutorial_7

Monday
Mar082010

Raised Vegetable Garden, Part 3

Raised Vegetable Garden, Part 3
Getting soil and plant crops
See Part 1 here.
See Part 2 here.

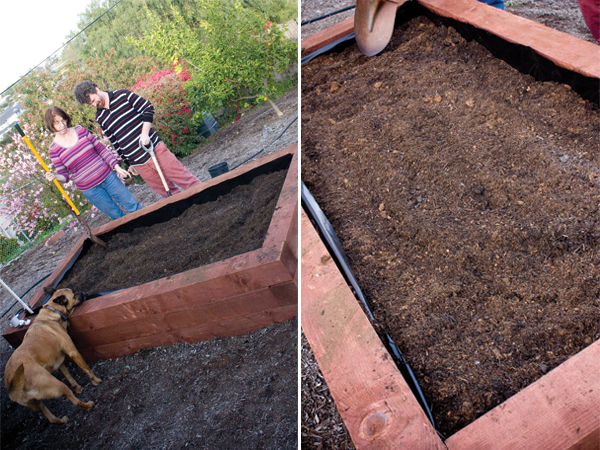
raised garden bed - soil time

Now comes the fun part, playing with dirt and planting seeds! We used a mix of garden soil, compost, peat moss and manure. The entire bed took about 36 cubic feet of this mix. We broke it down like this, 12 cf of garden soil, 12 cf of compost, 9 cf peat moss and 3 cf of manure. We layered about a third the different ingredients in the bed at a time and mixed them together with a garden fork. Once that was done I couldn't wait to get planting.

new plants in our new vegetable garden

We bought some small plants that were already started. Things like tomatoes, bell peppers and broccoli. The rest of the crop we started from seed. Our final planting consisted of eggplants, scallions, spinach, hot peppers, three varieties of tomatoes, green bell peppers and four heads of broccoli. I can't wait to see the crops start sprouting and flowering!

raised garden bed

Friday
Mar052010

A scrumptious new knitting project

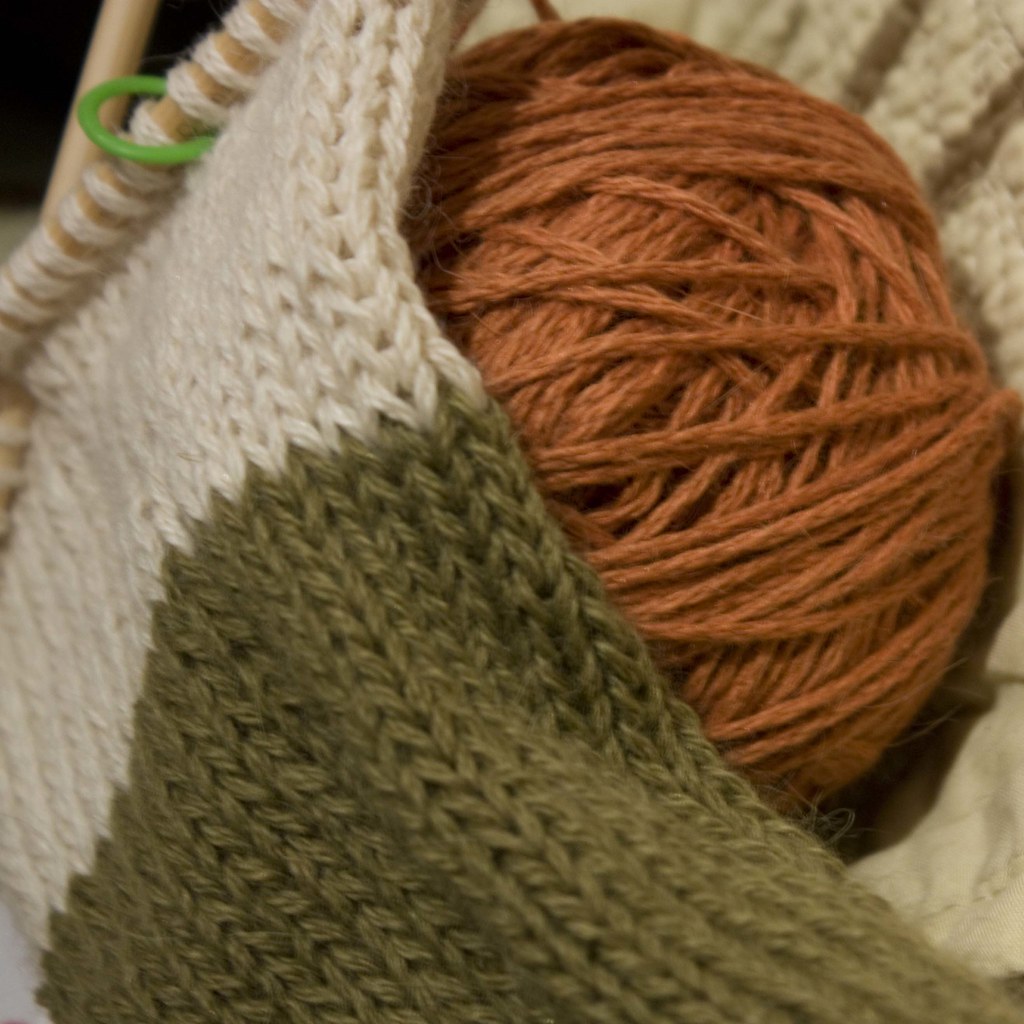
scrumptious new project

After a long and crazy week I couldn't have been more excited to get home and knit. My Friday nights just aren't what they used to be, but there is nothing I'd rather be doing more than knitting.

Tuesday
Mar022010

Delightful Lobster Wraps

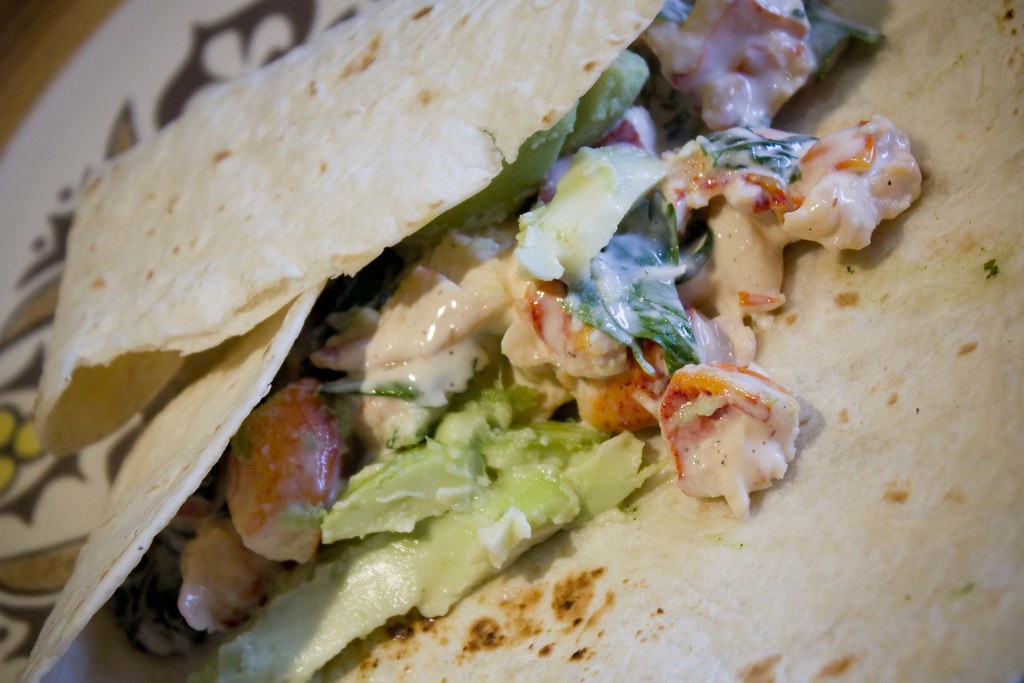
lobster wraps.

We bought a 24 oz bag of lobster claw meat just so we could make lobster pot pie again, the best pot pie in the world. The recipe calls for half the bag so we had another 12 ounces of lobster meat sitting in the fridge and there is no way I was going to let that spoil. Together Thomas and I concocted these lobster lunch wraps and they're definitely a keeper. So I'm making them again tomorrow.

Delightful Lobster Wraps
Makes 2 servings

6 oz fresh lobster meat, cut into chuncks
2 good handfuls of fresh baby spinach
3 tbsp mayonnaise
1 tsp chopped fresh parsley
1 ripe avocado
2 burrito-size flour tortillas
salt and fresh ground pepper

In a large skillet warm a good glug of olive oil, add the lobster and toss until warm and heated through. Remove lobster from pan and put into a small mixing bowl. Set aside. Next wilt the spinach by adding another tsp of olive oil to your warm skillet. Toss spinach in pan until wilted.

In small mixing bowl with lobster add the spinach, mayonnaise, and parsley. Mix gently to combine. Add salt and fresh ground pepper to taste. Spoon half of lobster mixture on to each tortilla. Peel and slice the avocado and add it to the tortilla. Wrap tortilla and serve. Enjoy!